Seal the Deal – recaulking our Galley’s Silicone Seams
Our most recent boat improvement project: re-caulking the silicone seams in our galley. Silicone acts as a water and moisture repellant and it provides a nice lining between surfaces. When silicone caulk gets old and grungy, no amount of cleaning will make it look good, and it may be letting run-off water, dust, or anything else in between your surfaces. Replacing the silicone has a magical effect of making the space look clean, fresh and 100 times better! .
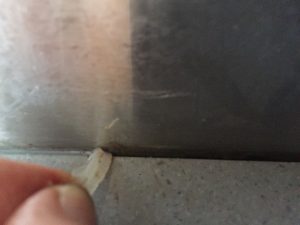
Much of the old silicone just peeled away
The Process, Step by Step
Re-caulking was a multi-step, multi-day project in large part because we wanted the cleaned seams to have time to get very dry before we applied the new silicone.
Step 1: Removing Old Silicone
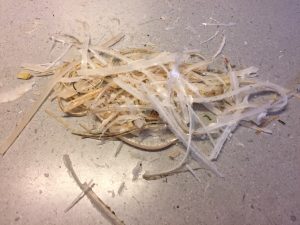
a pile of old silicone that I removed
The first step was removing the wood trim and then all the old silicone. I did most of this with my fingers and then used a narrow, plastic putty knife to go after the hard-to-reach places.
Step 2: Cleaning the Seams
The second step was cleaning the seams where each surface – counters, horizontal backsplash, stainless, corian, wood – met another, as well as the surfaces themselves and under counters and all the nooks and crannies. I lost count but I think I cleaned everything a dozen times with gentle cleansers, baking soda and vinegar, pure tee tree oil and finally alcohol. Then we let everything sit for more than 24-48 hours to be sure all surfaces were completely dry so the silicone would stay clear and clean and so it would stick well.
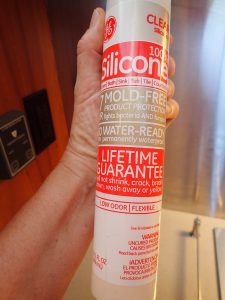
Product Choice
The last step was applying the new silicone. Since our project was for a boat, and a galley specifically where the surfaces get water on them, we chose a special silicone made to prevent mold and mildew growth. Features of this anti-mold, waterproof Silicone:
- mold-free & resistant
- highly durable
- sticks well
- dries fast
- spreads easily
- manufactured in United States
- easy to use
- has consistency of a thick glue
Preparing the Caulk
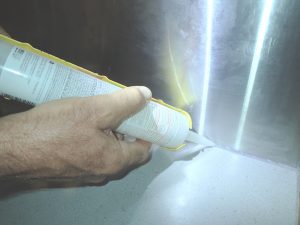
Applying the silicone
The idea is to get silicone down deep into the seams. We accomplished this using a caulking gun. To load the caulk into the gun, you release the “catch” mechanism (locking tab around the rod at the handle end of the caulking gun) or provide a 1/4 turn of the rod, whichever way your gun operates, then pull the rod as far out of the gun as far as it will go. You put the caulk’s bottom end into the handle end of the gun, press the nozzle end into the other end of the gun and squeeze the trigger until you feel pressure at the trigger. Then you slowly squeeze the trigger while watching for caulk to appear at the end of the nozzle and stop squeezing as soon as it is visible. Have a paper towel or rag ready in case excess caulk oozes out.
Preparing the Seams
Before injecting the silicone down into and along the seams, many people use painters’ tape to keep the caulk in the narrow joint. Using the caulking “gun” with quite a small hole on the end of the tube of caulk gave Rand a lot of control and also the ability to drive the silicone down into the seam.
Applying the Silicone
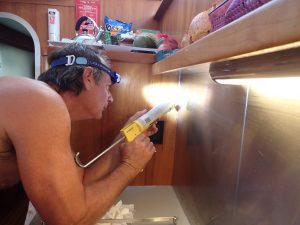
Rand carefully applying the silicone where the stovetop backsplash
Rand applied a thin bead of silicone running the entire length of the joint, directly over seams. He followed this up by wiping the seams with his finger wrapped in clean plastic wrap and then used lint-free cloth to remove any silicone that veered from the line.
If you don’t have a caulking gun “tool” the caulk:
Tooling is done for two reasons: it forces the bead into the seam void and it provides a smooth bead surface that makes cleaning easier.
Starting at one end, Run a bead of caulk directly over the seam just a few feet at a time. Then “tool” the bead with a wedge tool (some brands of caulk include this), a popsicle stick or a vinyl gloved finger. Even a wet, bare finger wet will work. Press the tool or finger into the bead and wipe evenly towards the opposite end. Wipe built-up excess caulk from your finger or tool as needed with paper towels or rags, and re-wet your finger before repeating.
When “tooling” the caulk, work the edge of the caulk near the tape edges nearest to the seam to be as thin as possible, leaving the bulk of the caulk directly over the seam. Tool the caulk until you’re satisfied with how it looks. Repeat for each additional section of caulk until you’re done. Don’t work too large an area or waste too much time as after the caulk begins to “skin over” or tooling will be difficult and result in a wrinkled surface.
Without a caulking gun that drives the caulk down the seam with pressure, you will want to do this several times to ensure caulk has permeated the space between sections to prevent water from entering. Wipe away any excess caulk on the surface of the laminate with a damp paper towel or rag.
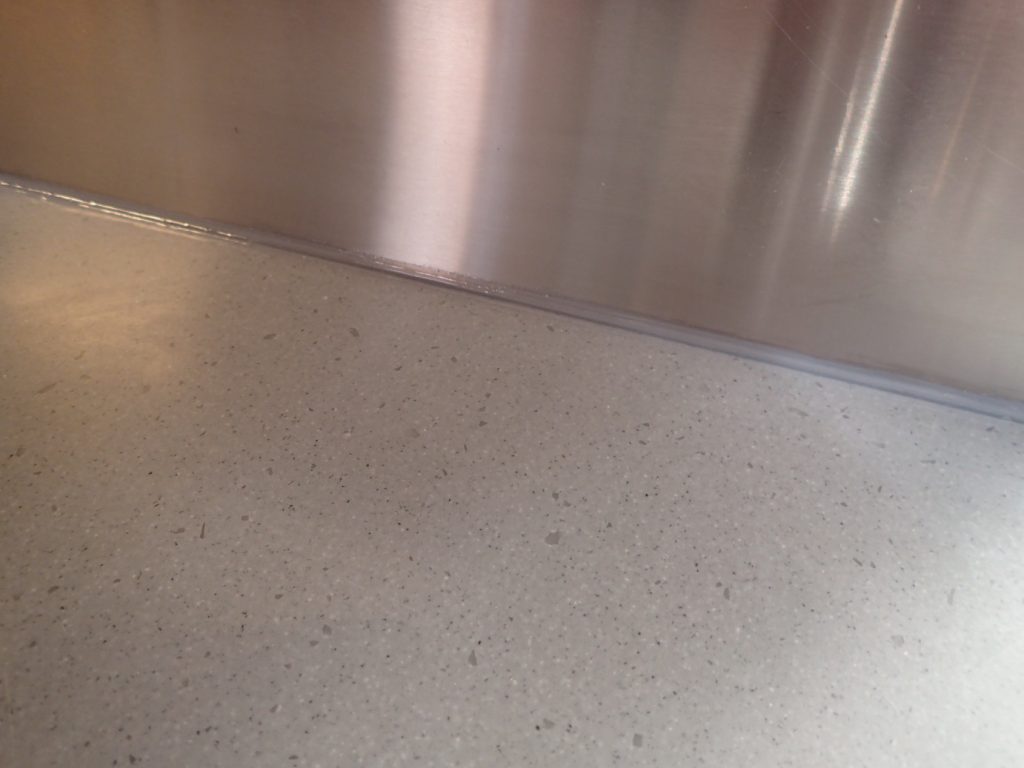
< = The Beautiful Finished Results
Sparkling, waterproof, mold and mildew resistant new silicone caulking
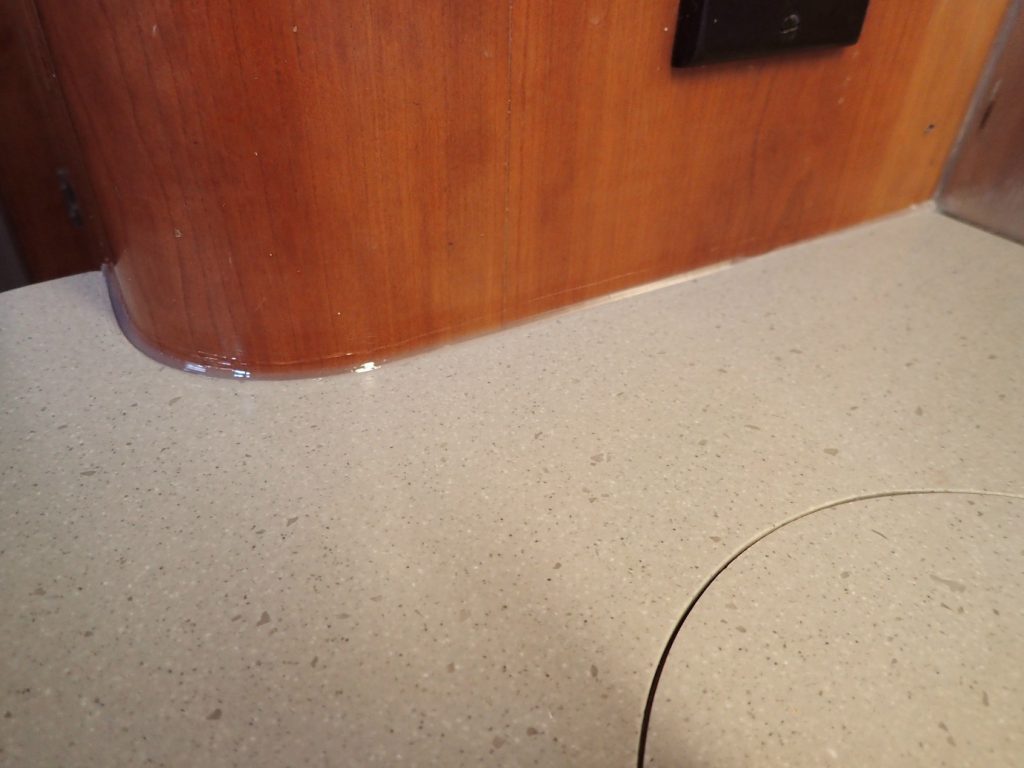
Finished Results – Looking mighty fine!
Practical Tips:
– When you cut the tip off of the tube, only cut a small piece off at first (so the hole is small and too much caulk doesn’t squirt out). If the hole is not big enough to squirt as much caulk out as you need, you can always make the hole larger by cutting more off the tip later.
Don’t squirt out an overly thick bead. You don’t want to be scraping away more than you need to. Because this caulk is so sticky, trying to scrape away a lot of excess caulk will make a sticky mess.
– Clean and dry all areas to be caulked before you begin.
– Use blue painter’s tape to mask off area to caulk.
– Pull off the blue painter’s tape as soon as you can, before the caulk begins to cure (dry). Otherwise, the caulk might stick to the painter’s tape.
– Wet your finger to spread caulk.
– Keep a little pail of water handy to clean your fingers.
– Keep plenty of lint-free paper towels handy to wet and wipe your fingers clean as you go.
– Keep a garbage can handy for used supplies.
– Work in small sections when you’re applying the caulk.
– Work in a well-ventilated area.
– Let the caulk dry overnight – no matter what the container says – before you use the space.


Hi Greg, The exact caulk we used is this one https://amzn.to/3A97Uge that we bought on Amazon, but you may be able to get it at stores like Home Depot or Lowe’s too.
There’s a link and picture of the caulk in the blog post too.
Good luck with your project!
Hi Greg, The exact caulk we used is this one https://amzn.to/3A97Uge that we bought on Amazon, but you may be able to get it at stores like Home Depot or Lowe’s too.
There’s a link and picture of the caulk in the blog post too.
Good luck with your project!
It’s good that you’re sealing the deal here, and I want to know which caulk I should use to get similar results as you. So if you can share this information with me, I would be thankful.